If your computer feels sluggish during games, video editing, or heavy multitasking, it helps to check RAM speed before you spend money on upgrades. Memory speed decides how quickly data moves between your RAM and your processor, and a kit sold as fast memory can quietly run far below its rating without you ever noticing.
This guide walks you through four reliable methods on Windows 11 and Windows 10. None of them need technical training, and three use tools already built into Windows. If you are still on Windows 10, it is also worth reading our guide to the Windows 10 security risk after end of support.
Why It Pays to Check RAM Speed
RAM speed is measured in megahertz (MHz) or, in newer versions of Windows, megatransfers per second (MT/s). For everyday purposes the two numbers can be treated as the same on DDR4 and DDR5 memory. Higher speeds help most with integrated graphics, gaming, and creative apps, where the processor constantly waits on memory.
Plenty of builders install a fast kit and never check RAM speed afterwards. That is a problem, because most motherboards start memory at a safe default speed, often 2133 or 2400 MT/s on DDR4 systems, until you switch on a performance profile in the BIOS. You may be paying for speed you are not getting.
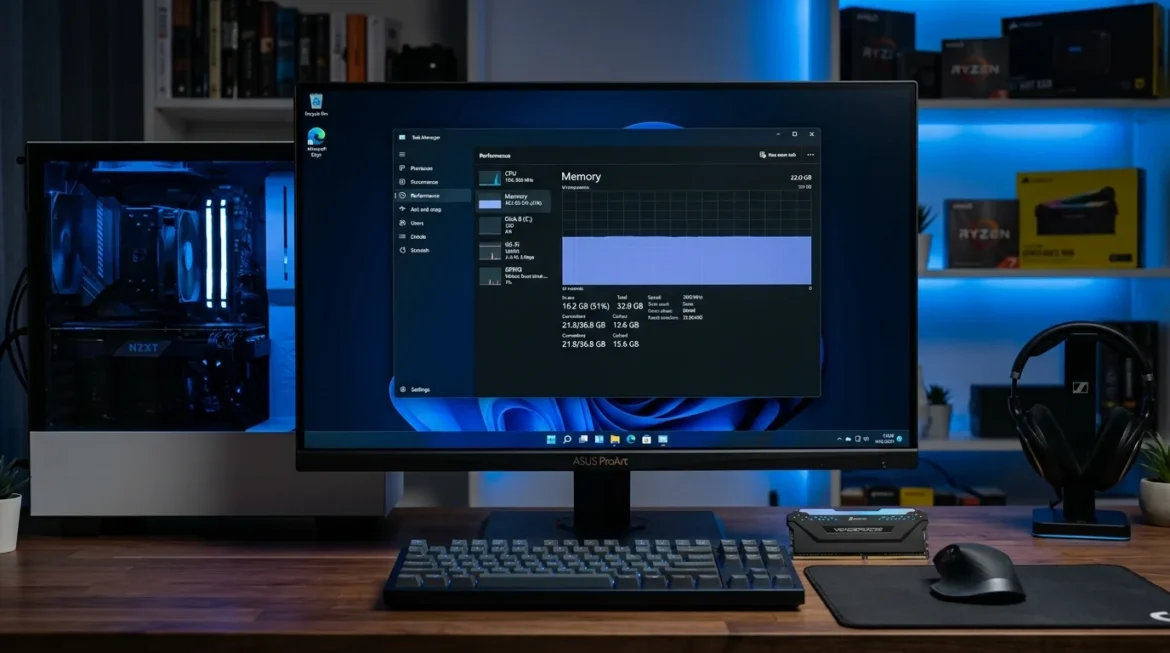
Method 1: Use Task Manager
The quickest way to check RAM speed on any modern Windows PC is Task Manager, because it needs no commands and no downloads.
- Press Ctrl + Shift + Esc to open Task Manager.
- Select the Performance tab. If you only see a short list of apps, click More details first.
- Choose Memory from the left-hand list.
- Look at the lower right of the window for Speed, along with the number of slots used and the form factor.
The figure shown is the speed your memory is running at right now, not necessarily the maximum the sticks can reach.
Method 2: Use Command Prompt
Command Prompt gives you a fast way to check RAM speed if you prefer typing over clicking. Search for cmd in the Start menu, open it, and run this line:
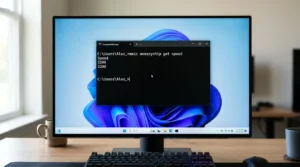
wmic memorychip get speedWindows prints one line per installed stick. Keep in mind that Microsoft has deprecated WMIC, and it is no longer installed by default on the newest builds of Windows 11. If the command is not recognised, move on to the PowerShell method below.
Method 3: Use PowerShell
PowerShell is the most dependable built-in option to check RAM speed, and it shows more detail than Command Prompt. Right-click the Start button, open Terminal or Windows PowerShell, and paste this command:
Get-CimInstance Win32_PhysicalMemory | Select-Object Manufacturer, PartNumber, Speed, ConfiguredClockSpeedTwo columns matter here. Speed is the rated speed of the module, while ConfiguredClockSpeed is the speed it is actually running at. If the second number is lower than the first, your memory is being held back, and the next section explains why.
Method 4: Use CPU-Z
CPU-Z is a free utility from CPUID that lets you check RAM speed and also see timings, channel mode, and module details. Download it from the official site only, install it, and open the Memory tab.
Read the DRAM Frequency field, then multiply it by two to get the effective speed. For example, a reading of 1600 MHz means DDR4-3200. The SPD tab lists each stick separately and shows the profiles it supports, which is handy when you want to compare what a module can do with what it is doing.
Why Your RAM May Run Slower Than Advertised
If you check RAM speed and see a number well below the box label, do not panic. The cause is usually one of these:
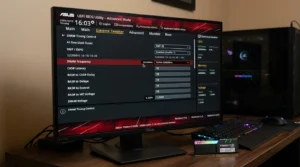
- XMP, DOCP, or EXPO is switched off. These BIOS profiles tell the motherboard to use the manufacturer’s rated speed instead of the safe default.
- Mixed or mismatched sticks. Modules with different speeds run at the slowest common speed.
- Only one stick installed. A single module runs in single-channel mode, which cuts memory bandwidth.
- Processor or motherboard limits. Some chips and boards cannot support the top speed of a fast kit.
To enable a profile, restart the PC and press Delete or F2 during startup to enter the BIOS. Look for a setting called XMP, DOCP, or EXPO, turn it on, then save and exit. Afterwards, repeat any of the methods above to confirm the new speed. If the system becomes unstable, return to the default setting or update your BIOS.
FAQs
What is a good RAM speed?
For DDR4, 3200 MT/s is a solid baseline for gaming and general use. DDR5 systems commonly run between 5600 and 6000 MT/s. Beyond that, gains in everyday tasks are small, so capacity and dual-channel setup usually matter more.
Can I check RAM speed on a laptop?
Yes. Every method in this guide works the same way on laptops. Many thin laptops use soldered memory, though, so the speed you find cannot be changed or upgraded.
Final Thoughts
Now that you know how to check RAM speed, you can find out in under a minute whether your memory is performing as it should. Start with Task Manager for a quick answer, use PowerShell when you want to compare rated and running speeds, and turn on XMP or EXPO if there is a gap. It is a free tweak that can make your PC noticeably smoother.